If you’ve landed here, it’s likely you want to know how to add custom fonts to WordPress.
And it’s a good question because you could source a million lovely fonts but without knowledge on how to add them, you’re left with not much to show for your efforts.
Luckily, we’ve got your back.
First, let’s talk about how to prepare fonts for the web.

Then, we’ll offer up a tutorial for adding fonts to WordPress both manually and via a WordPress font plugin. Let’s get to it!
Converting Fonts To Web-Friendly Format
Before you try to upload your custom font to WordPress, there’s one thing you have to know.
Not all browsers will support every custom font. Bummer, I know.
That’s why it’s a good idea to convert your font into a web-friendly format.
Fonts typically come in the following formats:
- Open Type Fonts (OTF) – this is the most common format for a font and it’s a registered trademark of Microsoft. Fonts in this format will work well in almost all major browsers. True Type Fonts (TTF) – this format was developed by Microsoft and Apple in 1980 and it’s predominantly used for Windows and macOS.
- Web Open Font Format (WOFF) and WOFF 2.0 – these formats are recommended by the World Wide Web Consortium (W3C) as the font formats for use on the web. The difference between the two is that WOFF 2.0 has better compression but it’s not supported in Safari and Internet Explorer.
- Embedded OpenType Fonts (EOF) – this format is a more compact OTF format that can be used to embed fonts on websites. It’s supported by all major browsers.
In other words, to use your custom font on the web, the safest bet is to use the WOFF/WOFF2 or EOF format.
Apologies if that’s a lot of info. Don’t worry, it’s not as complicated as it may look.
If your font doesn’t come in WOFF/WOFF2 format, fear not as there is a workaround.
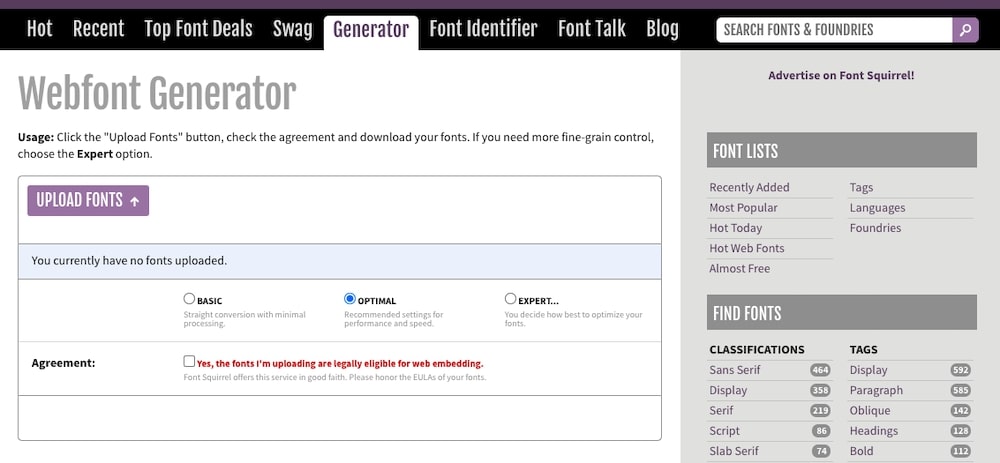
You can use the Webfont Generator to convert OTF and TTF fonts into a web-friendly format.
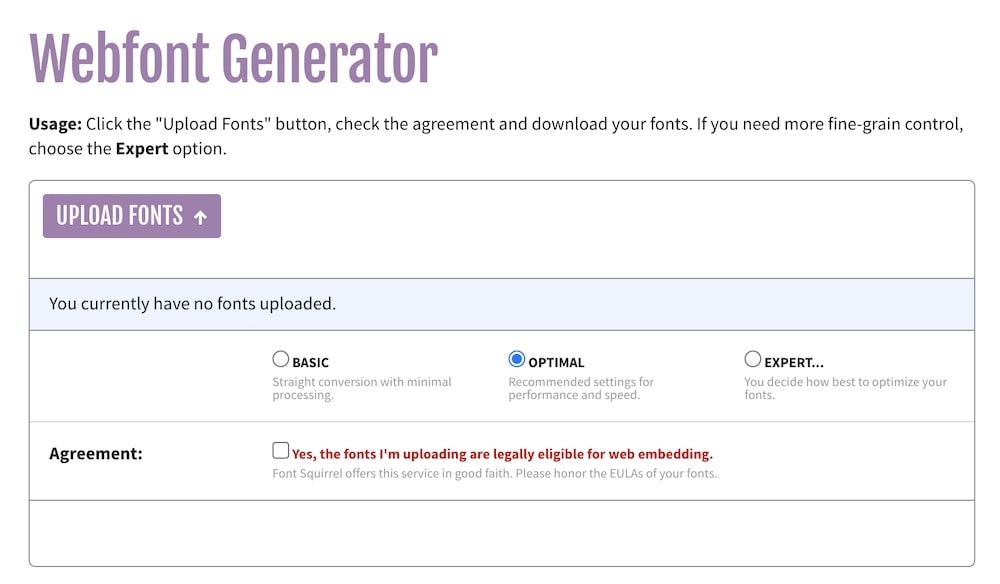
Simply upload your fonts to the generator, choose the Optimal setting, and let the tool work its magic.
The whole process is quick and once completed, you can download the .zip file with your fonts in WOFF and WOFF2 formats.
See, that wasn’t so scary, was it?
Aside from converting your fonts to a web-friendly format, there are a couple of other things to keep in mind:
- Make sure that the font is easy to read
- Keep in mind your existing website and brand style. Your chosen font should complement it, not send an entirely different message.
- Ensure that individual letters look good at both large and small sizes
Now, let’s dive into our tutorial.
Futher reading: How to change fonts in WordPress
How to Add Custom Fonts to WordPress Manually
So now that you know how to convert custom fonts to a web-friendly format, let’s take a look at how to add them to WordPress.
There are several ways to do this.
1. With a Stylesheet
The first way to add a custom font to WordPress is to “import” it from the font repository.
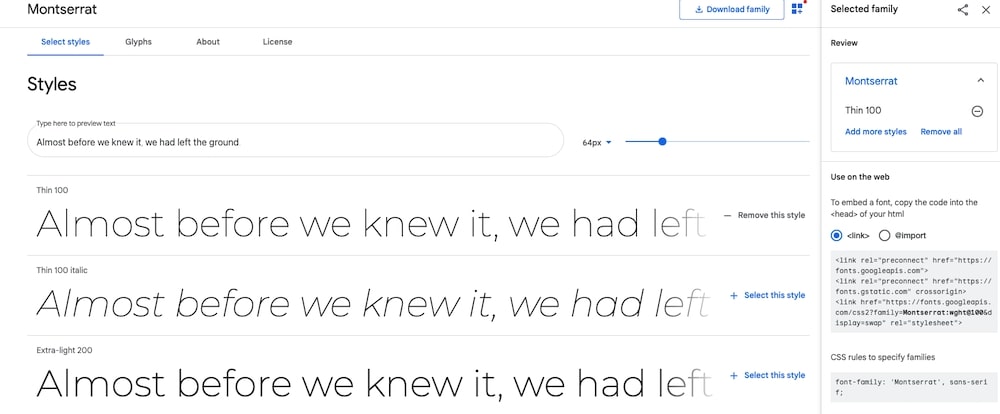
For example, Google Fonts will give you a stylesheet that you can add to your WordPress theme’s header file.
First, select your desired Google Font and press Select This Style next to the individual font weight.
You’ll see a sidebar pop up with the necessary codes. It will look like this:
<link rel=”preconnect” href=”https://fonts.googleapis.com”>
<link rel=”preconnect” href=”https://fonts.gstatic.com” crossorigin>
<link href=”https://fonts.googleapis.com/css2?family=Montserrat:wght@100&display=swap” rel=”stylesheet”>
Copy the code and then log in to your WordPress dashboard. Go to Appearance > Theme Editor and open up your header.php file.
Alternatively, if theme editing is disabled in your dashboard, you can access this file via FTP.
It’s located within your theme’s folder in the public_html/wp-content/themes directory.
Paste the copied code between the <head> tags and save your file.
Then, open up your stylesheet.css (or style.css) which is located in the same folder as your header.php file.
Add the following code to the elements you want to style with your custom font:
font-family: ‘Montserrat’, sans-serif;
2. Using @font-face
Another method to add custom fonts to WordPress is to upload your font files to a directory on your website.
First, you’ll create a folder called fonts and place it into your theme’s directory to keep everything simple.
Then, upload your fonts to that folder using FTP.
Then, open up your WP child theme’s stylesheet file. Add the following code snippet:
@font-face {
font-family: Montserrat;
src: url(http://www.yourwebsite.com/wp-content/themes//fonts/montserrat.otf);
font-weight: normal;
}
Be sure to replace the font name with the name of your font.
The last step is to specify which elements should use your custom fonts, like so:
.h1 {
font-family: “Montserrat”, Arial, sans-serif;
}
3. Using A Plugin
Lastly, if you don’t want to do it manually, there are several WordPress plugins that will make it easy to upload custom fonts to WordPress.
Easy Google Fonts
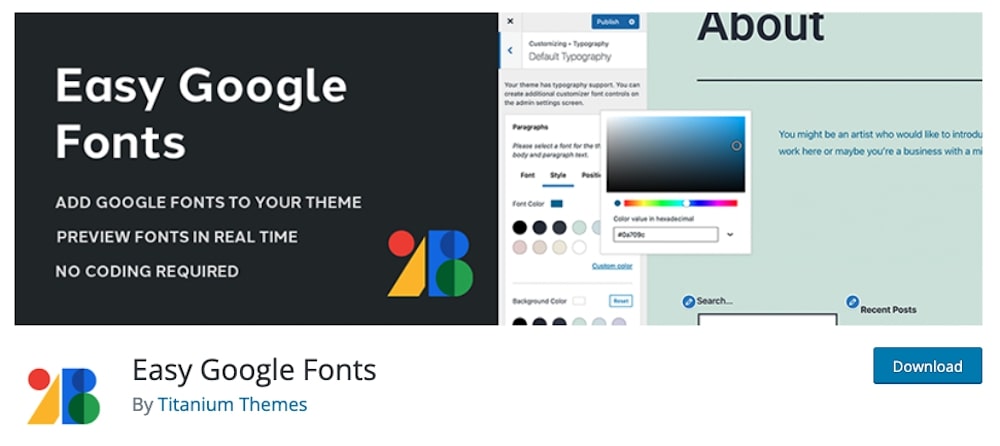
Easy Google Fonts, as the name implies, allows you to add any Google Font to your WordPress website.
The benefit of this plugin is that you can add Google Fonts to your theme without editing the main stylesheet.
This means you can safely update your theme without losing your custom fonts.
The plugin integrates with the WordPress Customizer and works with any theme.
Once you install the plugin, you can easily preview the fonts on your site in real time.
You can also create custom font controls in the admin area.
These controls are then instantly available in the Customizer preview.
Use Any Font
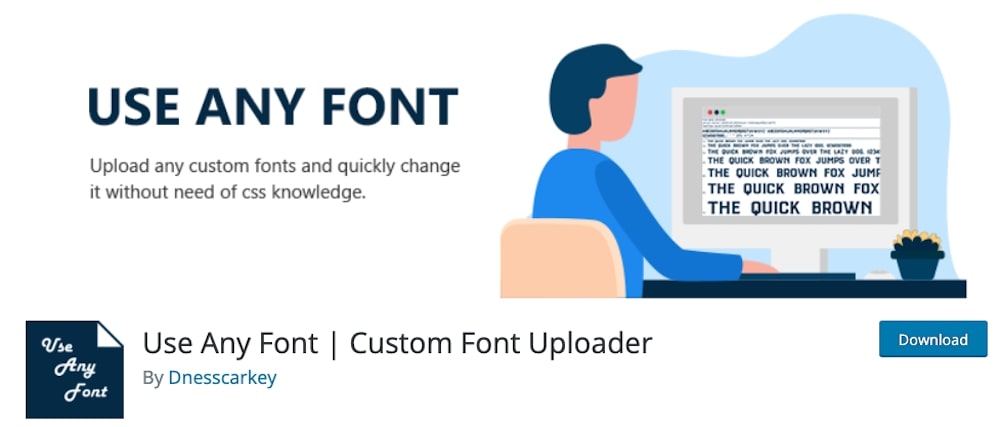
Another aptly-named plugin is Use Any Font which allows, you guessed it, you to add any custom font to your WordPress website.
It works with all major page builder plugins such as Beaver Builder, Elementor, and Divi.
You can even upload custom fonts directly through the theme options panel in some of the most popular themes, including Avada, Flatsome, X Theme, Salient, and more.
The plugin allows you to convert your fonts into web-friendly format within your dashboard and embed them using @font-face css.
Final Thoughts
And that’s a wrap!
Now, you know how to upload custom fonts to WordPress as well as where to find them.
The only thing left to do now is to find your custom font and add it to your website.
Pro tip: Do NOT overcomplicate with fonts on your WordPress website. Also, make sure they are easily readable even on small devices.
Good luck!
Bonus: Where to Find Custom Fonts For Your WordPress Website
There are several places where you can find custom fonts for your WordPress website.
Some fonts will be free to use and others will require a paid license.
Before using any fonts on your website, be sure to check the license to ensure you have the right to use it.
This will help you avoid any unwanted legal troubles later down the road.
With that said, here are a few places where you can find custom fonts:
- Creative Market — Creative Market is a premium marketplace that offers a ton of different creative assets, including fonts. Premium fonts that you find here are truly unique and pretty affordable.
- Envato Elements — Envato Elements is another premium marketplace similar to Creative Market. They offer various creative assets, such as fonts, but the difference is that you pay a monthly subscription. The subscription allows you to download unlimited fonts, so it’s definitely worth checking out.
- Google Fonts — Google Fonts has a large library with more than 1000 fonts that are free to use in both personal and commercial projects.
- Adobe Fonts — Similarly to Google Fonts, Adobe has a large collection of more than 20000 fonts that you can access as a part of your Creative Cloud subscription. You can also sign up for a free Adobe ID to get access to their basic library with more than 1000 fonts.
- MyFonts — If you’re looking for premium fonts, MyFonts is one of the best websites out there. You can purchase individual fonts as well as entire font families.
If you’re looking for free fonts, Google Fonts and Adobe Fonts are the top two choices.
If you don’t mind spending a few bucks and want something more unique, then fonts on Creative Market, Envato Elements or MyFonts will be the perfect fit for your project.


